The wreath is made up of two different hibiscus stamps from the Club Scrap Beaches kit. I colored the stamps with Mustard Seed, Ripe Persimmon and Shabby Shutters Distress Markers, “huffed” on them and stamped. My MISTI really came in handy to help with the placing of the stamps, as well as being able to color and stamp each image multiple times for a better image.
The heart in the middle is a chipboard piece that I picked up at Michaels a long time ago (I think it is the Recollections brand). To color it I mixed some Pearl Adirondack paint (no longer available) with some Ripe Persimmon Distress re-inker and just kind of slathered it on the heart with my finger.
Other supplies I used are:
**Paper from Club Scrap.
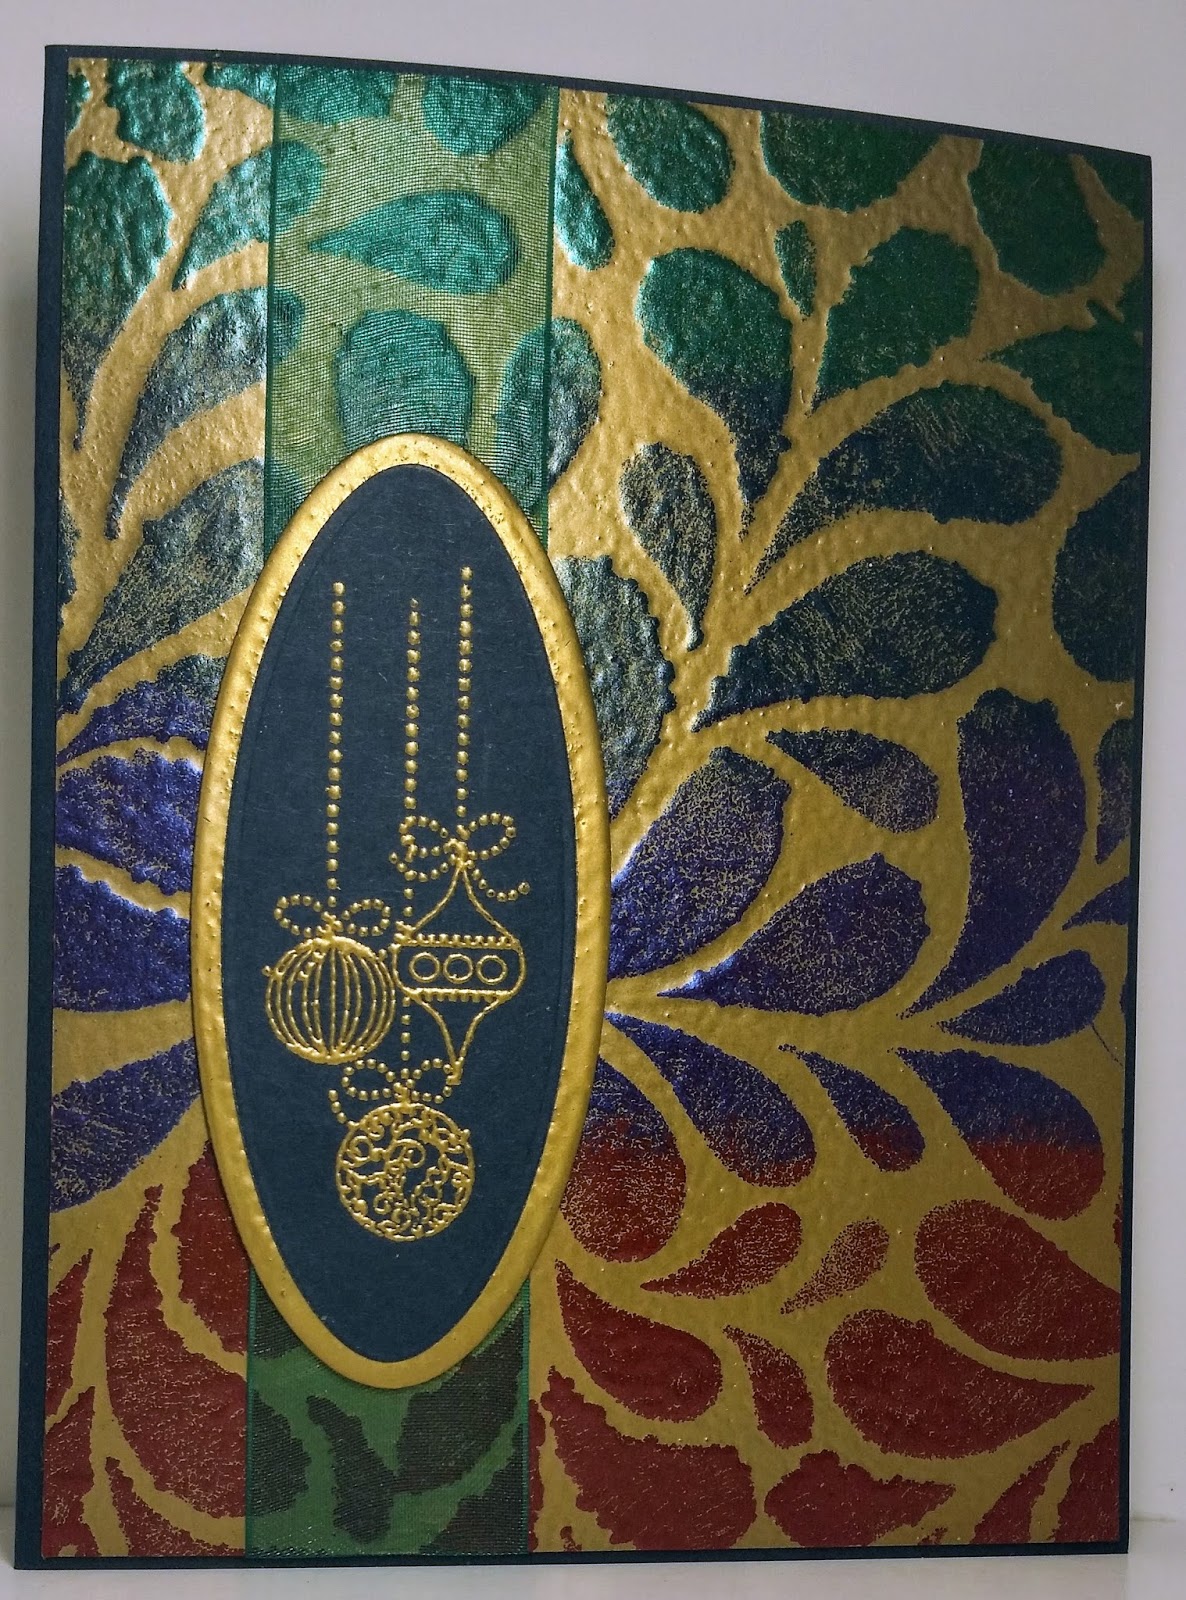
**The sentiment stamp is from Club Scrap (Vogue), stamped with VersaMark ink and embossed using the Earthtone Paprika Powder from WOW.
**Background is stamped with Tangerine Club Scrap Hybrid Ink using a stamp from Club Scrap (Short Sleeve Pants).
** The wreath panel’s edges are inked with Ripe Persimmon Distress ink, the background panel’s edges are inked with Tangerine Club Scrap Hybrid Ink.
**The Ribbons is upcycled, altered with the Ripe Persimmon Distress Marker.
To see more of my creations, you can follow me on Instagram at #inkyscraps.
Thanks for stopping by!
The heart in the middle is a chipboard piece that I picked up at Michaels a long time ago (I think it is the Recollections brand). To color it I mixed some Pearl Adirondack paint (no longer available) with some Ripe Persimmon Distress re-inker and just kind of slathered it on the heart with my finger.
Other supplies I used are:
**Paper from Club Scrap.
**The sentiment stamp is from Club Scrap (Vogue), stamped with VersaMark ink and embossed using the Earthtone Paprika Powder from WOW.
**Background is stamped with Tangerine Club Scrap Hybrid Ink using a stamp from Club Scrap (Short Sleeve Pants).
** The wreath panel’s edges are inked with Ripe Persimmon Distress ink, the background panel’s edges are inked with Tangerine Club Scrap Hybrid Ink.
**The Ribbons is upcycled, altered with the Ripe Persimmon Distress Marker.
To see more of my creations, you can follow me on Instagram at #inkyscraps.
Thanks for stopping by!